Did you know that the proper use of bit training techniques can greatly enhance your horse’s response and improve communication between you and your equine partner? Understanding the intricacies of bit training is crucial for equestrians, as it helps build trust and establishes clear communication with the horse.
Whether you are a beginner or an experienced rider, this article will guide you through effective bit training techniques. From understanding horse behavior to the gradual introduction of the bit, you’ll learn how to establish a harmonious partnership with your horse and achieve success in various equestrian disciplines.
Key Takeaways:
- Proper bit training techniques enhance horse response and improve communication between rider and horse.
- Understanding horse behavior is essential for successful bit training.
- The gradual introduction of the bit helps create a horse who accepts it without trauma or worry.
- Desensitizing the horse to the bit and teaching open mouth cues are crucial steps in the bridling process.
- Consistency and gradual progress are key to building trust and achieving success in bit training.
Preparing the Colt for a Snaffle Bit
Transitioning a colt from a hackamore to a snaffle bit requires careful preparation and consideration. The timing of this transition may vary, but it is generally recommended between the colt’s tenth and fourteenth ride. Each colt is unique, so the decision should be based on their individual responsiveness to the hackamore.
Some breeds, like draft horses and warmbloods, may be less sensitive and might benefit from an earlier switch to a snaffle bit. It’s important to assess the horse’s sensitivity level and adjust the training accordingly.
To ensure an effective transition, proper bridle selection is crucial. For the initial introduction of the bit, a 3/8-inch smooth snaffle is recommended. This type of snaffle provides a mild and gentle pressure, allowing for greater softness and flexibility in the horse’s response.
If the colt tends to lean on the bit and requires additional correction, a twisted snaffle or square snaffle can be used temporarily. These bits discourage leaning behavior and encourage the horse to carry the bit properly.
“The transition from hackamore to snaffle bit is a pivotal moment in a horse’s training. By selecting the appropriate bit and making the switch at the right time, you set your colt up for success in further training and communication.”
Selecting the Right Bridle
When transitioning from a hackamore to a snaffle bit, it’s essential to choose the right bridle for your colt. The bridle should be well-fitted to ensure comfort and proper function. Consider factors such as the colt’s head shape and size, as well as the style and material of the bridle.
A combination bridle can be a suitable option as it allows for a smooth transition from the hackamore to a snaffle bit. It provides the flexibility to use either the hackamore or the snaffle bit, depending on the colt’s progress and training needs.
Introducing the Snaffle Bit
Before introducing the snaffle bit, it’s important to continue building a foundation of trust and groundwork with your colt. Regular handling, desensitization exercises, and ground work will contribute to a positive and cooperative transition.
When introducing the snaffle bit, start by allowing the colt to investigate and become familiar with it. Let them sniff and explore the bit before gently introducing it into their mouth. Always be patient and monitor their response, ensuring there’s no resistance or discomfort.
Remember, every horse is unique, and their sensitivity to the bit may vary. Be observant and adjust your training techniques accordingly to ensure a smooth and successful transition to the snaffle bit.
Desensitizing the Colt to the Bit
Before putting the bit in the colt’s mouth for the first time, it is crucial to desensitize the horse to the bit. This preparatory step ensures a smoother and more positive introductions, reducing the likelihood of resistance during the bridling process.
Begin by touching and rubbing the bit all around the colt’s nose and muzzle, using gentle and gradual movements. This will help the colt become familiar with the texture, weight, and feel of the bit without eliciting a negative reaction. It’s important to take it slow and be patient, allowing the colt to adjust at their own pace.
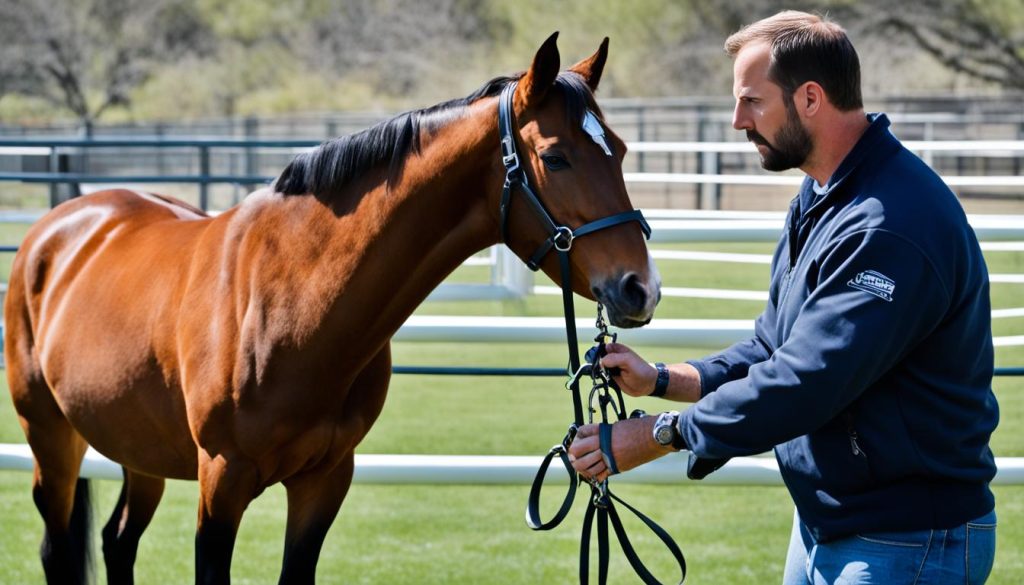
During this desensitization process, it is recommended to have the colt wear a halter for better control and easier correction if needed. The halter provides a secure way to guide the horse’s head and prevent any unexpected movements that could potentially escalate the situation.
Approach and retreat method: One effective technique to introduce the bit gradually is the approach and retreat method. This method involves bringing the bit close to the colt’s mouth and then withdrawing it without actually inserting it. Repeat this process several times, gradually extending the duration of each approach, until the colt is comfortable with the bit’s presence.
Remember, the goal is to create a positive association with the bit and build trust with the colt. By allowing them to become gradually desensitized to the bit, you are nurturing a sense of calmness and acceptance, ensuring a smoother transition to the next step of the training process.
By consistently practicing these desensitization exercises, you are setting the foundation for a successful bridling experience. The colt will learn to associate the bit with positive experiences and gradually accept its presence without resistance or fear.
Next, we will explore the importance of teaching open mouth cues to further enhance the bridling process.

The Approach and Retreat Method
The approach and retreat method is a valuable technique when introducing the bit to a colt. It involves gradually bringing the bit closer to the colt’s mouth, allowing them to become familiar with its presence without immediately inserting the bit. This method helps build the colt’s confidence and reduces any anxiety or resistance they may have towards the bit.
| Steps | Description |
|---|---|
| Step 1 | Hold the bit a few inches away from the colt’s mouth |
| Step 2 | Allow the colt to sniff and investigate the bit |
| Step 3 | Gradually move the bit closer to the colt’s mouth |
| Step 4 | Withdraw the bit if the colt shows signs of resistance or discomfort |
| Step 5 | Repeat the process, gradually increasing the proximity and duration |
| Step 6 | Once the colt is comfortable, gently insert the bit into their mouth |
Teaching Open Mouth Cues
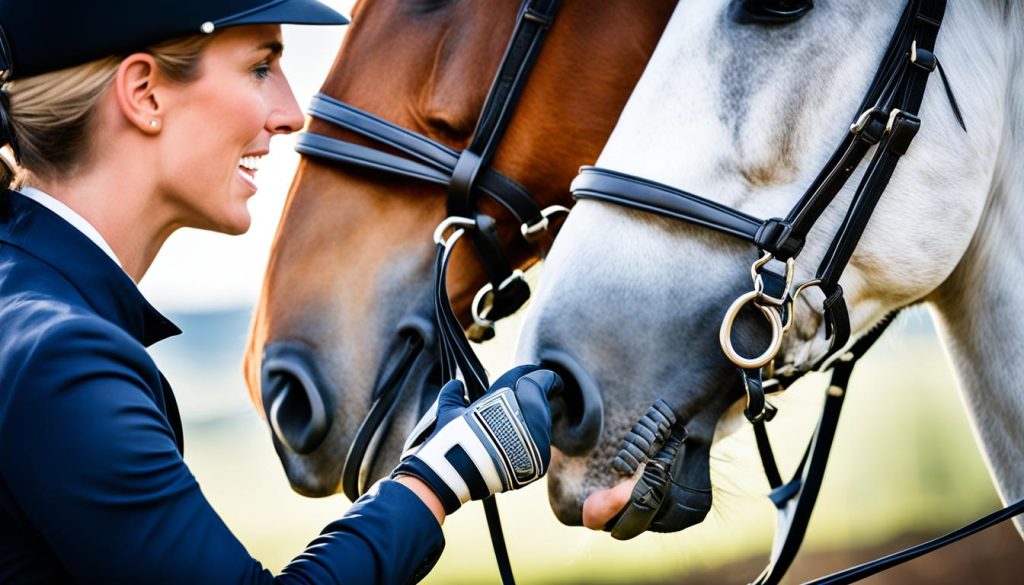
To avoid bridling issues and ensure cooperation from the horse, it is important to teach the horse to open its mouth on cue. This can be done by inserting the thumb into the corner of the horse’s mouth and gently rubbing the roof of the mouth to stimulate a licking or chewing response. By practicing this step consistently, the horse will learn to open its mouth willingly, making bridle application easier and more harmonious.
The Thumb Cue
The thumb cue is a simple yet effective method for teaching horses to open their mouths. Begin by placing your thumb in the corner of the horse’s mouth, gently pressing against the fleshy part. Apply light pressure and wait for the horse to respond by opening its mouth. When the horse opens its mouth, release the pressure and reward the behavior with praise or a small treat. Repeat this exercise several times, gradually increasing the duration before releasing the pressure. Over time, the horse will learn to associate the thumb cue with the desired behavior of opening its mouth.
Desensitizing to bridling is an integral part of the training process, as it helps the horse become familiar with the sensation of the bit. The thumb cue technique not only aids in desensitization but also establishes a clear communication channel between the rider and the horse. Opening the horse’s mouth on cue allows for smooth and effortless bridling, minimizing resistance and ensuring a positive experience for both rider and horse.
During the training sessions, it is essential to maintain a calm and patient approach. Some horses may take longer to understand the thumb cue, so practicing consistency is key. By utilizing the thumb cue method and encouraging the lick and chew response, the horse learns to relax and accept the bit without apprehension. Gradually, the horse becomes more desensitized to the bridling process, paving the way for successful rides and improved communication between horse and rider.

| Benefits of Teaching Open Mouth Cues |
|---|
| Reduces resistance during the bridling process |
| Improves communication and cooperation between horse and rider |
| Establishes a foundation of trust and understanding |
| Fosters relaxation and acceptance of the bit |
| Enhances the overall riding experience |
Putting the Bridle On
After desensitizing the horse to the bit and teaching open mouth cues, the next step is to put the bridle on the horse. This is an important part of the overall bridling process, and it requires proper technique and attention to detail.
Proper Bridling Technique
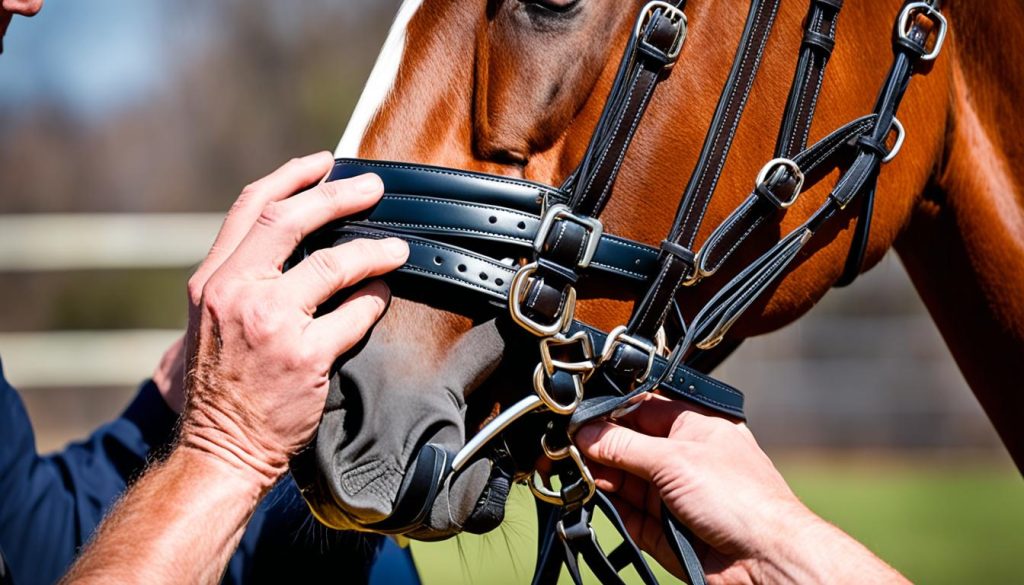
When putting the bridle on, it is essential to ensure that the headstall is adjusted correctly. The headstall should be snug, but not too tight, allowing the horse to move comfortably while wearing the bridle. Check that there is enough room for the horse’s ears to fit comfortably between the headstall and the poll.
Start by gently sliding the headstall over the horse’s ears, being careful not to accidentally pull or tug. Once the headstall is in place, carefully position the bit in the horse’s mouth, allowing the horse to accept it calmly and without resistance. This process may take a few tries, especially if the horse is not yet fully accustomed to the bit. Patience is key.
“The proper adjustment and placement of the bridle are crucial for the horse’s comfort and willingness to respond to your cues.” – Experienced Equestrian
Groundwork with Halter
While the horse is wearing the bridle, it is beneficial to continue practicing groundwork exercises with the halter. This reinforces obedience and suppleness in the horse, helping them develop a better understanding of your cues.
During the groundwork sessions, focus on exercises such as leading, backing, turning, and stopping. Use the halter to guide the horse’s movements and encourage responsiveness. This continued groundwork with the halter helps establish a solid foundation for the horse’s training and further reinforces the bridle’s purpose.
“By incorporating groundwork exercises with the halter, you can improve communication and ensure a more responsive horse under saddle.” – Professional Trainer
Completing the Bridling Process
After the bridle is properly on and adjusted, take a moment to ensure everything is in place. Make sure the bit is correctly positioned in the horse’s mouth and that the throatlatch is properly secured. Gently run your fingers along the horse’s face, double-checking that all straps are correctly fastened and adjusted.
Remember to always handle your horse with care and be mindful of any signals of discomfort or resistance during the bridling process. If any issues arise or if the horse shows signs of tension or discomfort, consult with an experienced trainer or professional to guide you in finding a solution.

| Proper Bridling Technique Checklist |
|---|
| Adjust headstall snugly but not too tight |
| Ensure space for the horse’s ears between headstall and poll |
| Slide headstall gently over the horse’s ears |
| Position the bit in the horse’s mouth calmly and without resistance |
Conclusion
Mastering effective bit training techniques is essential for equestrians who want to enhance their horse’s response and build trust. By following the proper methods and techniques, such as gradual introduction of the bit, clear communication, and building trust with the horse, equestrians can develop a harmonious partnership and achieve desired outcomes in various equestrian disciplines.
One of the key aspects of successful bit training is desensitizing the horse to the bit. By taking the time to familiarize the horse with the bit through gentle touch and gradual introduction, you can create a positive association and reduce the likelihood of resistance.
Furthermore, teaching open mouth cues is crucial. By patiently guiding the horse to understand the desired behavior of opening its mouth, you can ensure a smoother bridling process and reduce any potential discomfort or tension.
Consistency and clear communication are key throughout the entire bit training process. By approaching the training gradually and consistently, while also focusing on building trust with the horse, you can create a positive and trusting environment for your equine partner. With proper bit training techniques and a strong partnership, you and your horse can achieve success and harmony in your equestrian pursuits.
